

DIY Tips & Tricks

TIPS & TRICKS
Welcome to our Tips &
Tricks
Page
BASIC PAINT GUIDE
Undercoat & Primer
Wood
Prepped wood
Prepped wood
Emulsion
Walls
Ceilings
Varnish, stain, wax & Gloss
Prepped
wood


NATURAL LIGHTING
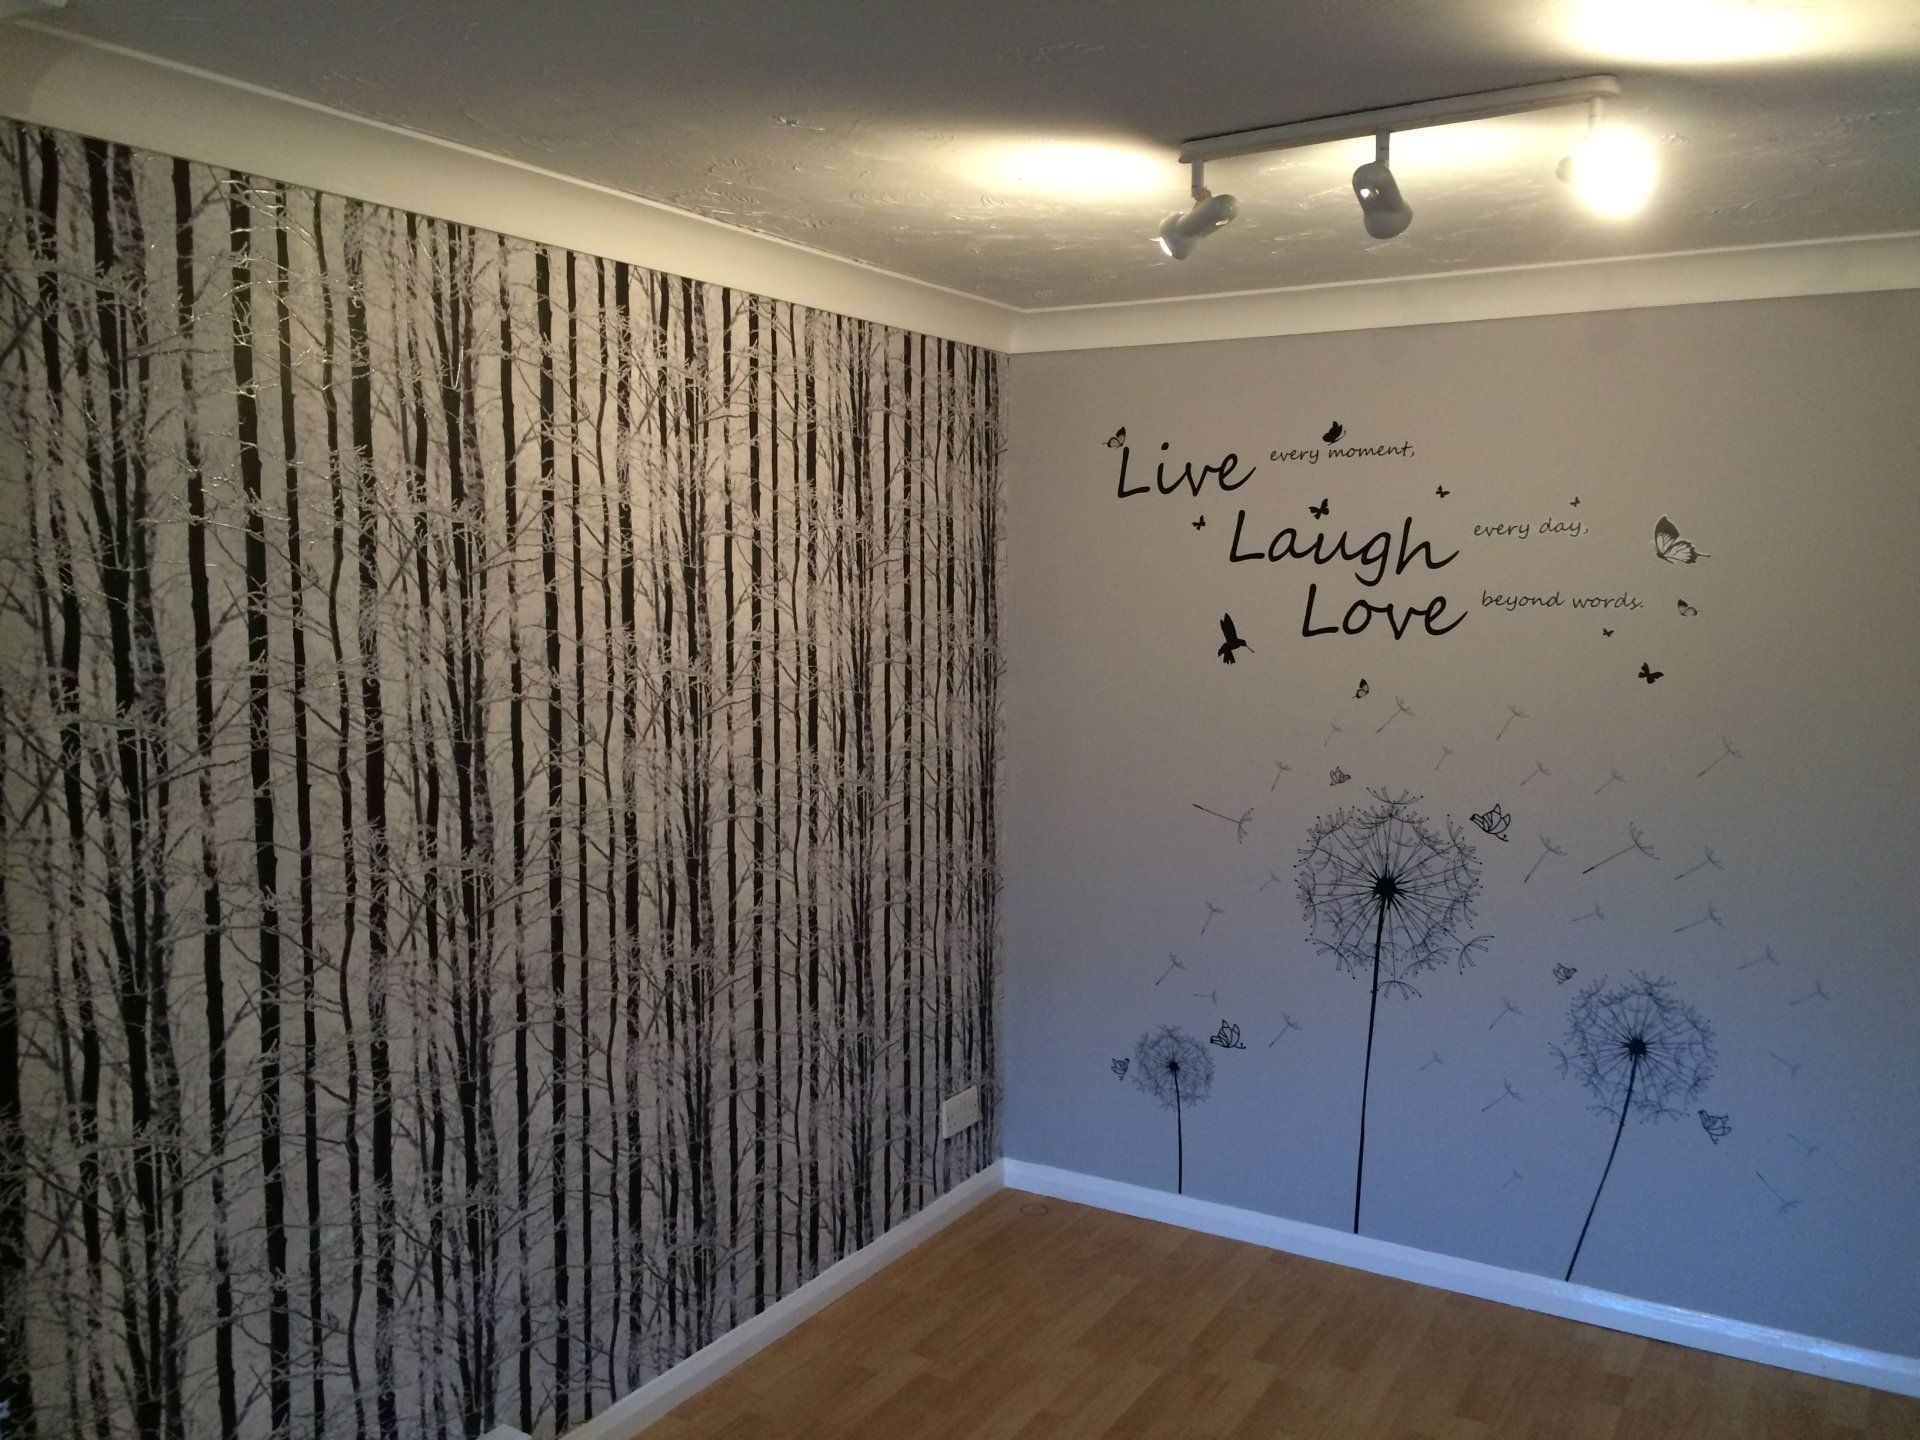
A great place to start while choosing your colour is the lighting of your room, natural light is one of the most beautiful aspects of a room, a ray of sunshine penetrating through your window on a hot summers sunday morning can be a natural enhancement to your bedroom, bringing an amazing start to your day .
Natural lighting does vary on its own but can also be adjusted to your preference by using blinds, curtains and different types of glass, but these only dull down the natural light. To enhance the natural light you can use large mirrors in a good reflective position and also the colour white.
Rooms with little natural light we recommend brighter colours such as White, oranges, yellows, light greens or whites with tints of those colours in, this will help the light bounce around the room while the colour brightens up the atmosphere.
Rooms with a large amount of natural lighting we recommend, whites, greys, creams light blues, dark greens and reds to help bring a strong sense of freshness and colour to an already bright room.
ARTIFICIAL LIGHTING

Artificial lighting can bring an amazing look to your home, with different colour bulbs and various lighting available you can create a completely different atmosphere at night compared to natural light in the day. There are so many good ways to mix and match colours in your room with the colours created with lighting, Our personal favourite is matching the light colour to the incorporated room colour using feature walls or other decor, while using a plain background colour such as white if your walls are perfect, or creams if your walls are aged with beauty. Although this sounds obvious and as simple as it is, its a great way to enhance colour depth into your room. The key is to find the right incorporated colours and tones to create the room you desire both in a natural light and artificial light as light is what creates the colour on a scientific level. If you can master this then choosing the right colour to create the atmosphere you desire should flow with ease, here are some ideas...
Orange lights go well with Cream and white backgrounds, while using orange, grey and black incorporated colours especially black curtains and black featured wallpaper. Choosing the right tone of light and colour is the key when using cream background and black as an incorporated colour within your room while using orange lighting, if you chose a nice warm dull orange light the effect is amazing if you desire warm at night and snug in natural light. A little hint for you, a small amount of grey may bring the cream and grey together!
A brighter tone of orange lighting can bring an opposite effect while being used with a white background, with orange, light grey and/or black incorporated colours. giving you a vibrant glowing colour at night while creating a light airy room during natural light in the day,
Blue lights are always best kept to a minimal as it absorbs most colours in the room, blue lights go well with white and light blue backgrounds, and white, light blue, mint or duck egg incorporated colours, also dark brown wooden flooring or white tiles can look elegant and clean.This colour scheme will create a clean, fresh, cool atmosphere at night and if desired a modern feel and a minimalistic finish during natural light.
Green lights go well with white, green and cream backgrounds while using brown, green, orange, yellow incorporated colours. This will give a warm but colourful effect at night and the colour scheme will be bright and freshly enhanced under the natural light. The tones of green light can be used in various ways, a bright green light can bring a beautiful fluorescent weekend look to your home, while a soften green light can bring a cosy weeknight relaxation room, maybe try both together!
White lights can be used with all colours and are effective with multi colour rooms, they bring brightness used in large amount and dazzling effects if used singularly or minimal. A soothing contrast can be made when black and grey are involved or warming inducing effect if used with creams, browns and wood.
There are many other light colours and colour schemes you can go for, the best thing to do is think carefully and enjoy experimenting till you get your desired look….
EXTERNAL SURROUNDINGS
Seasons play a large part in naturally lighting your room, some days are longer and some are shorter and some seasons bring bright skies and others bring dull skies, but the key is to design your room to enhance the external surroundings. Not everyone wished to decorate their home every season so incorporating different colours for each season in an overall design is always beneficial
Not only do the natural skies fit into this category but also lighting and colours within your garden or surrounding area of your home, for example you could have lighting in your garden that shines through your window, or you may see a beautiful pink blossom tree in your garden while in your livingroom that you can bring into your colour scheme. You may even like to use a bright white in your bedroom so you can bring the moon into your room at night! These colours and lights are all natures ways to help you when designing your room and are there to be used when creating your home.
Winter time
Warm colours & bright colours like dark creams, medium/dark greens, blues and maybe black. With yellows, reds, dark browns and light greys can be used along with many other colours all depending on other factors like preference and colours of furniture etc, but the basic idea is to bring brightness into a dark room while keeping it warm at the same time.
Autumn time
Colours like bright creams, oranges, reds, yellows, browns, whites and purples can be used and these colours are sometimes mixed well with navy blues and burgundies. This will keep your room feeling warm but bright, while enticing the warm cosy nights in for the oncoming winter. Autumn is also a very windy time of year so a small amount of light grey representing the wind maybe something to think about!
Summertime
Colours such as Bright oranges, yellows and reds representing the sun give your room a bright appearance and bringing an energetic feel to the area. Bright whites and very light creams and greys are a good for background colours as the often go well with a variation of other bright colourful feature colours such as bright greens & blues, pinks and purples that can bring colours of your garden or flowers & plants you have in your home into your home decor colour scheme.
Springtime
Colours such as yellows, oranges, light blues and whites representing daffodils, sunshine, clear skies and fresh water can be used, along with dark browns to represent the soil that holds new life this time of year. Many other feature colours can be used like reds, purples and greens representing all the beautiful colours of springtime.
FAVORITE COLOURS

Your favorite colour is always a pleasure to live with, so why not indulge into creating a room using as many different shades as you can! The good thing about using your most enjoyed colour means its easy and you need no excuse its just because you like it!
If a room is used by a family or friend maybe a spare room they stay in, you could base the colours scheme on their favorite colour as a nice surprise for them or maybe creating your room together will be enjoyable and fun.
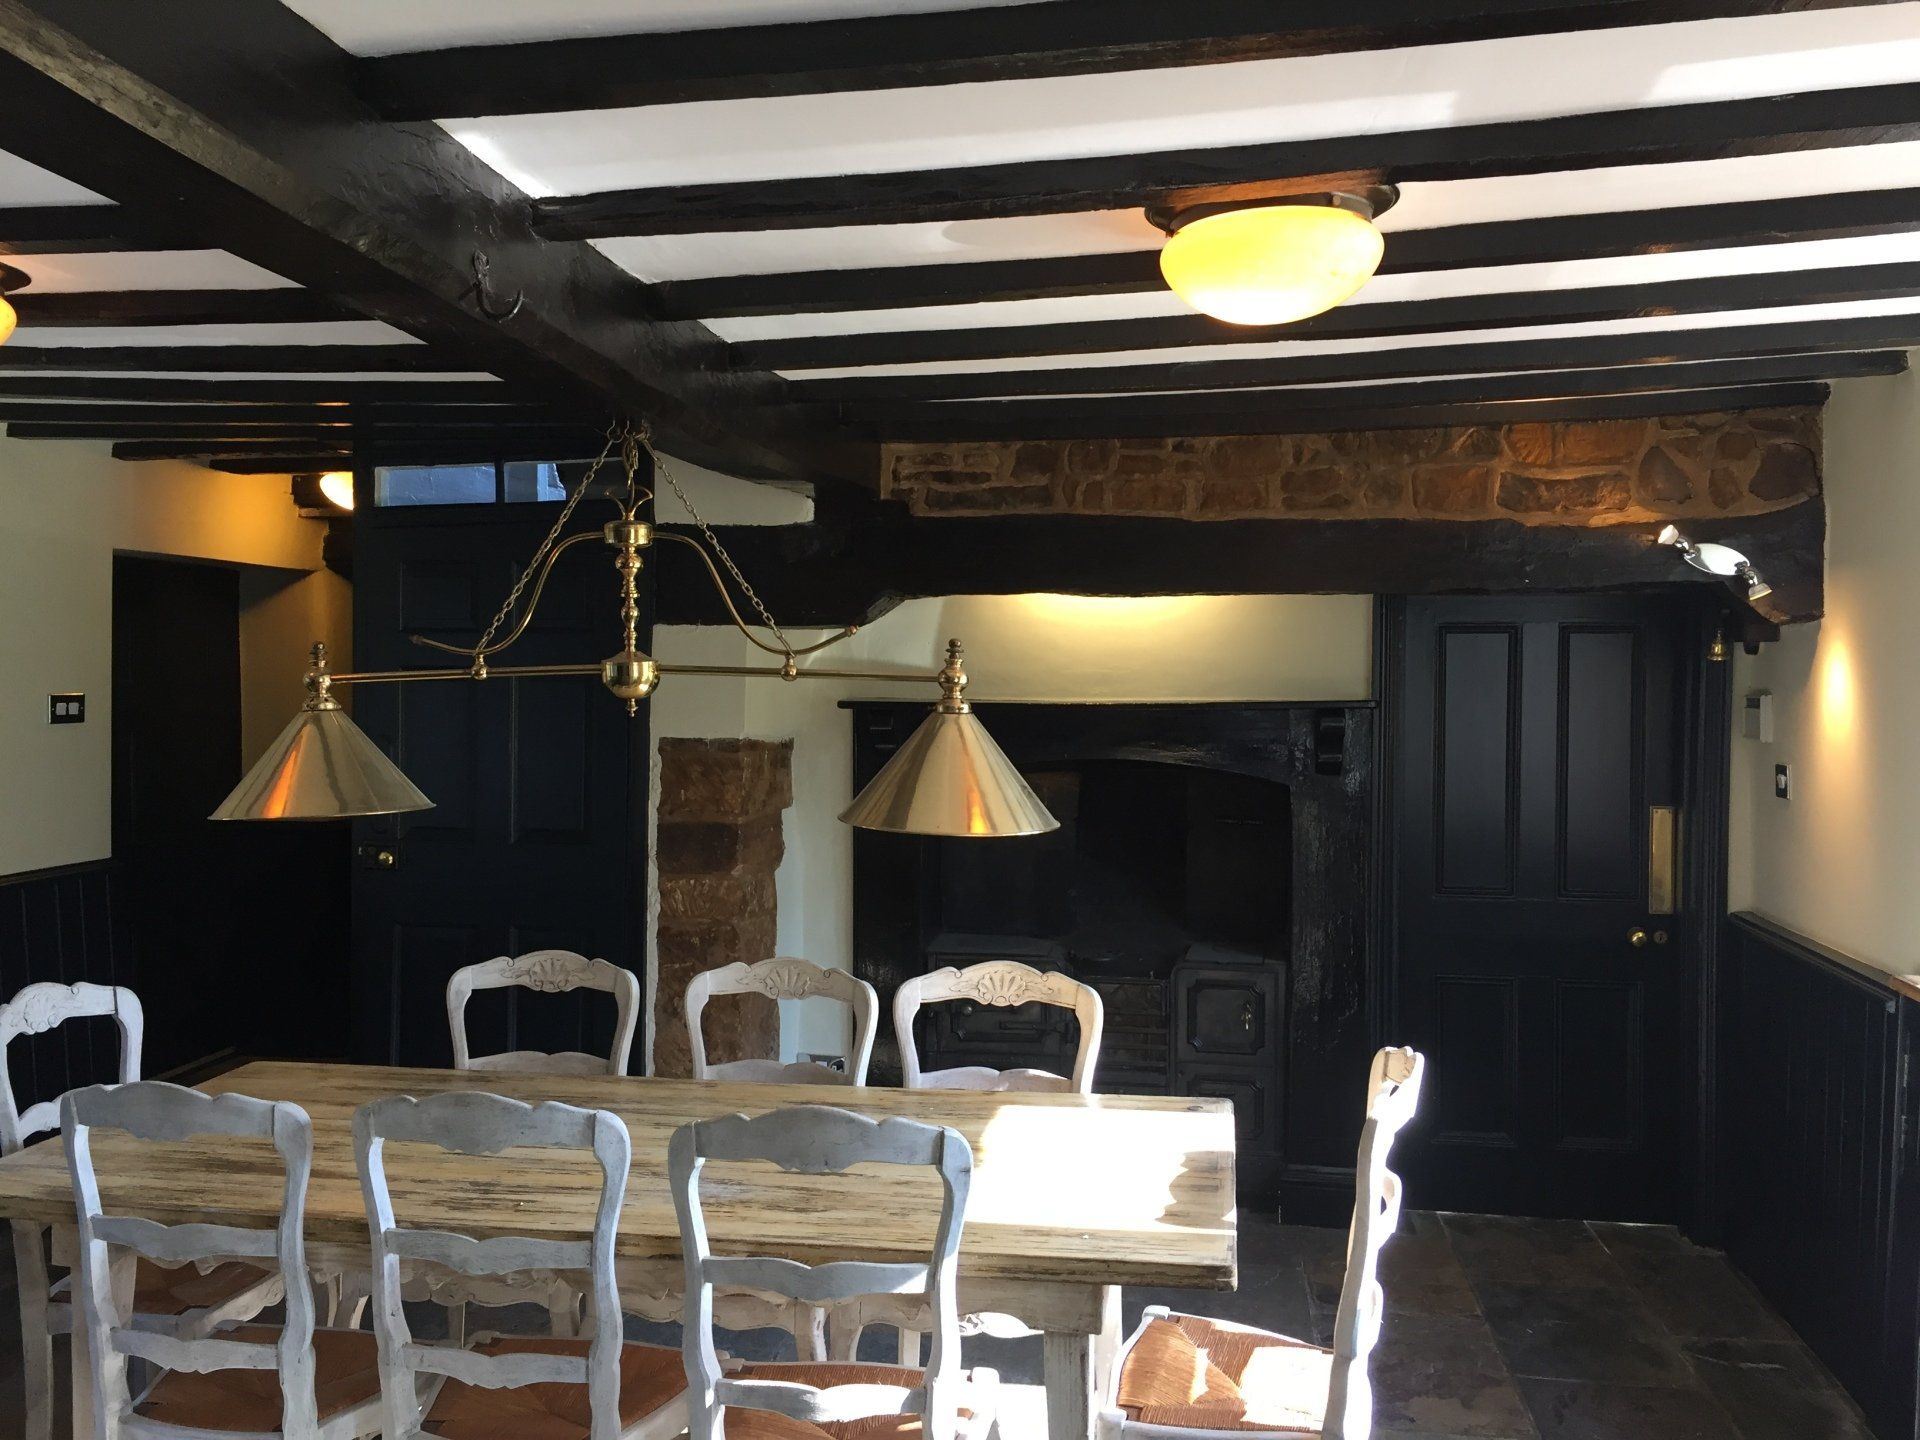
FURNITURE & FLOORING
Your furniture and flooring shall always need to be a big decider on your colour scheme as these are what will be there the longest. Dark flooring such as dark wood or black or grey carpets it's an idea to use lighter walls such as white or light creams, lights creams go particularly with dark grey carpets and cream sofas.
What ever colour scheme you choose there are always samples you can buy to test on your walls, ceilings and woodwork. Have a little fun mixing and matching your colour choices till you find the perfect match for you!!
NEED A QUICK HAND WITH THE HARD BITS?
CALL OUR ON CALL DECORATOR FOR A HELPING HAND!!
-
![]()
CALL NOW
Button07719 775977

TIMING & PLANNING
Timing & Planning are an essential part of designing and putting your project into place. If your planning & timing are right it can save you in time and financially. Before starting your project take some time out to relax and imagine how you would like your room to look, feel and what effect you would like it to have on you and others using that room. Use this time out to bring your creative side into play, use your imagination to create your perfect room. But most importantly you and your family & friends can have fun and enjoy doing it!!
STEP BY STEP GUIDE!
How to paint your room.
Step 1
Planning
The planning is the most important part of your project, get this right and everything will run smoothly there on, so before any work takes place you must sit down and plan your project from beginning to end as best as possible. Here are some pointers to help you start your planning:
- Your colour scheme and finishes
- Materials needed
- Where your furniture will be stored
- Your flooring requirements
- The order you must do the work required
- Your timescale
- Your budget
- Storage space for furniture
Tip of the day: Don't forget to include the drying times of any paint when planning your schedule
STEP 2
Collecting of materials
Although some materials may need to be collected as you get further into your project, it is always best to get the materials you need to get your project going all together at the start. Here's a list of some of the materials and tools needed while painting your room:
- Sand Paper
- Filler
- Masking tape
- Primers/Undercoat
- Emulsions for Ceilings & Walls
- Finishing Paint for doors & skirtings
- Brushes
- Rollers and Roller Trays
- Step ladders
- Dust sheets
STEP 3
Preparing your room
Always start with removing whatever furniture you can so when painting you have enough room to get to the areas required. Once your furniture is removed cover everything that remains with dust sheets.
Tip of the day: Take your door handles off before painting the door, but always leave a handle in the room so you don't get stuck in!!
If you are replacing your carpet always decorate before your new carpet has been fitted, try to remove the old one before painting reducing the risk of damaging your freshly painted skirting and doors.
STEP 4
Fill and sand
the walls,
ceiling and woodwork if required but always sand down the woodwork to get a nice surface ready for your first coat to grip to.
Trick of the day: Do not overfill cracks and holes as this will lead to raised areas that may be hard to sand down later on.
Always try to leave the filler flush with wall making it easy sanding when it dries, if the filler sinks in when drying you can always refill it after which is always better than over filling and sanding off. Make sure you use the correct filler and allow to dry before sanding and painting, here's a guide on what filler to use:
Decorators caulk
is a flexible filler that comes in a tube and is to be used on joins only. It is usually used around the edges of your ceiling, skirting and architraves and cannot usually be sanded so don't forget to put it on smoothly!
Multi purpose filler
is used mainly on plastered walls and can be sanded, it comes in a premixed tub or a mix your own powder. If left to long after application some fillers can be extremely difficult to sand so catch it right!!
Wood filler
This usually comes in a small premixed pot or a 2 part mixing tub and you have to mix in the hardener yourself, used on any woodwork like skirting, door frames and doors. It comes in different colours allowing you to match you wood/varnish colour or it comes in white if your glossing.
After you have filled and sanded down remove all dust and dirt using a slightly damp cloth, hoover and dust brush, leave to dry and masking tape where needed.
STEP 5
Painting your ceiling
is one of the more physically challenging parts of decorating. You should always start with painting around the edges and light fittings with a brush then roller the rest in straight lines before the edge dries.
Tip of the day: Always roller back and forth across the narrowest direction of your ceiling!
Don't worry to much about hitting the walls with the ceiling paint when painting around the edge as you are going to paint the walls later on, but always make sure you brush out the paint on the walls so you don't have to sand it down later.
Make sure you put another coat on if you can see patches!!
STEP 6
Undercoating or Priming
of the woodwork is the next step, sometimes it may require two coats but usually one is sufficient when using undercoat on top of pre painted wood. Remember primer is for bare wood and undercoat is for pre painted wood but you can also purchase a primer/undercoat all in one.
You can get two types of undercoat or primer, the first is water based, this will dry much faster, usually within 2 hours and water based undercoat or primer is good for speeding up your project especially if you require two coats.
The second is oil based undercoat/primer, this can take upto 12 hours or more to dry but covers a lot better especially on barewood and very discoloured pre painted woodwork.
Trick of the day: Try not to hit the walls with the primer/undercoat but if you do it doesn't matter as the emulsion will cover it.
STEP 7
Painting your walls
When painting your walls choosing the best emulsion for your walls is always a good place to start, if you have high traffic areas always use a durable emulsion or vinyl matt with an extra coat at the least. When painting bathrooms and kitchens where steam and water are present always use a bathroom paint or a paint suitable for these situations. For more information on what paint you should use just call us on 07719775977
In the same way you paint your ceilings, do the cutting in then roller up and down at a steady speed. Mind out for splashing paint on your carpets so always cover them up and always leave the first coat to dry properly before applying the next coat. On high walls always start at the top and work down rollering out any drips and watch out for the ceiling while up there!!
Tip of the day: You may need to give your skirtings a little sand down to remove any splashed from the emulsion.
STEP 8
Painting your woodwork
Now is the time to have a good clean up free from any dust. Be careful when wiping down your woodwork as you don't want to touch your newly painted walls with the slightly damp cloth, then carefully lift up your dust sheets and hoover without spreading to much dust. Once the room is clean and tidy fold up a dust sheet into a square metre and lay on the floor where you are working, as you move round the room painting carefully move the dust sheet where ever you go protecting the floor from splashes.
Paint the finishing paint smoothly on the woodwork with a suitable brush making sure its spread evenly. If you are using a water based paint it will dry quicker than an oil based paint and has a less potent smell but will more often than not need an extra coat.
Trick of the day: Don't put to much on the brush at once helping prevent drips.
Once all coats are on and dried, if you have lay masking tape down on your carpet then you may need to gentle cut it free from the dried paint with a stanley knife before removing, preventing the tape from pulling off your paint.
These 8 Steps are just a basic guide, if you do require any further information or a helping hand just call 07719775977